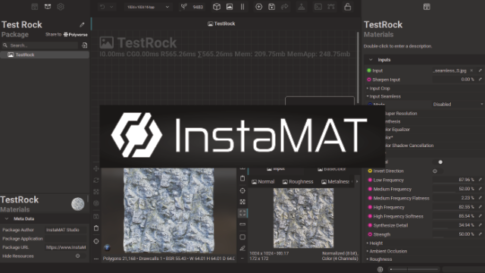
I created a simple tile procedural material in InstaMAT, this time with the Element graph.
It is similar to the substance designer and most of the main nodes seem to be there,
It is very easy to get to grips with.
Contents
Basic Operating
Select Element Graph in Create New Project.
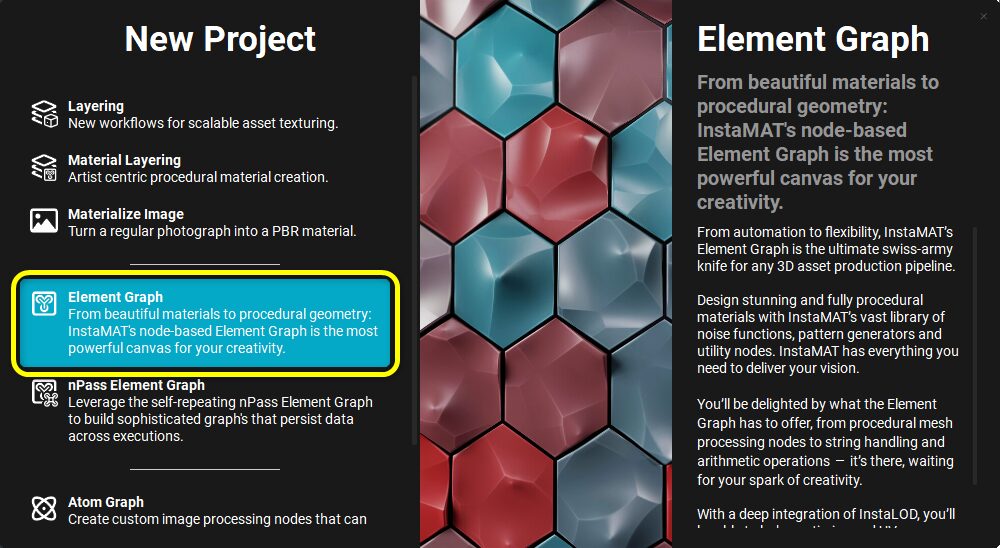
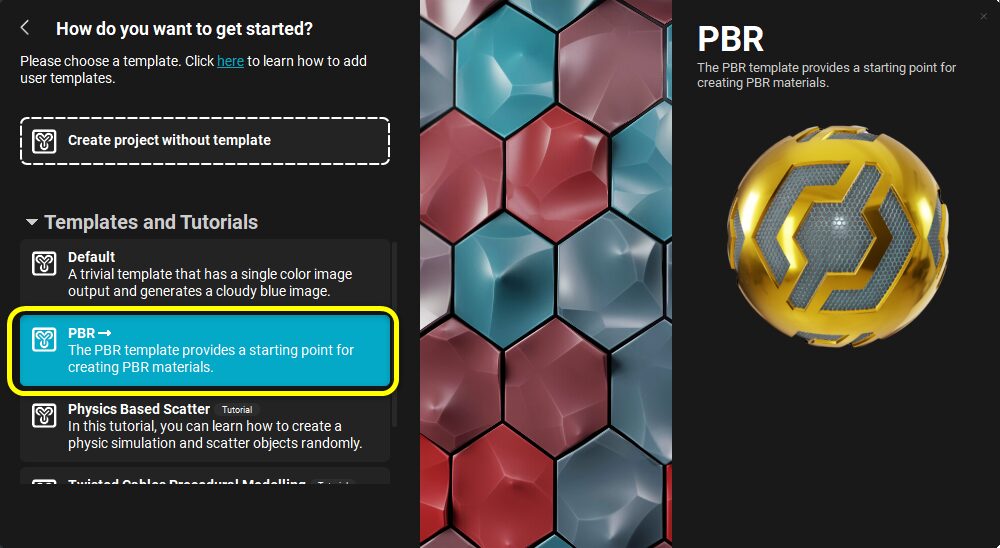
For the template, select “PBR” since we will be creating a PBR material.
The InstaMAT logo graph will then be loaded. Press the cube icon on the left to display the 3D view.

Select and delete all but the output node by holding down the Shift key and dragging the mouse.
How to create a node
Press the “Graph Library” icon in the upper left corner to display the library on the left side.
If you select a category above, a node will appear at the bottom, and you can drag and drop it into the graph view to create a node.
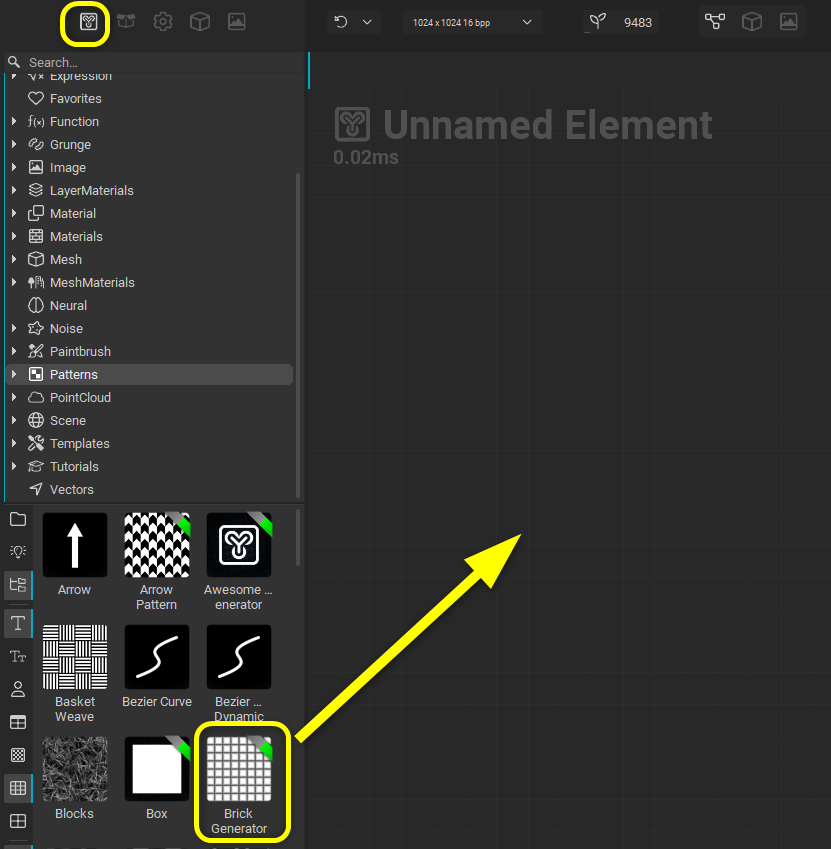
Alternatively, if you right-click in the graph view, a search menu will appear, and you can create a node by typing the node name and double-clicking on the listed node.
It is also possible to create a node by mouse dragging a line out from an existing node connection to bring up the search menu.
Display in 2D view
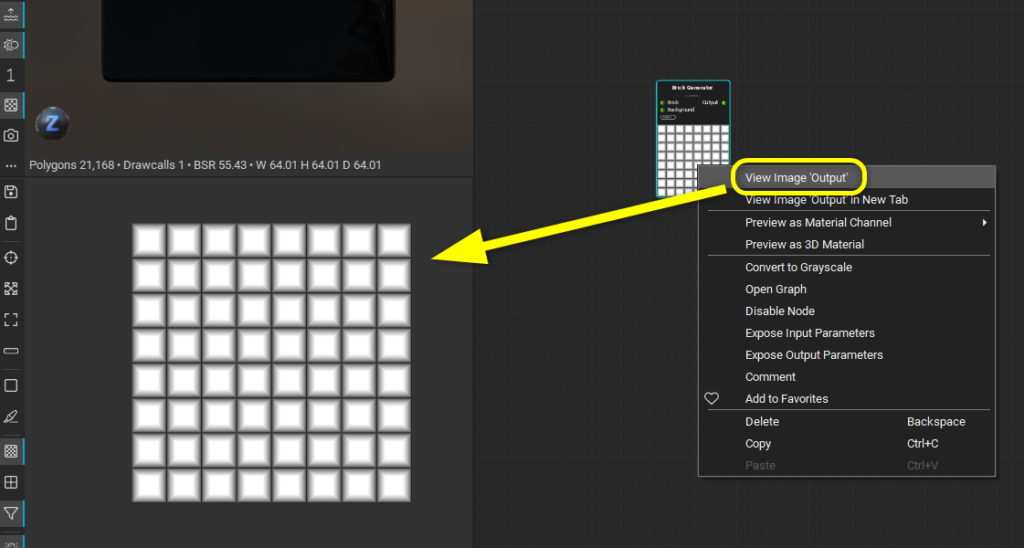
To check the output result of a node, execute “View Image Output” from the right-click menu, and it will be displayed in the Image Viewer.
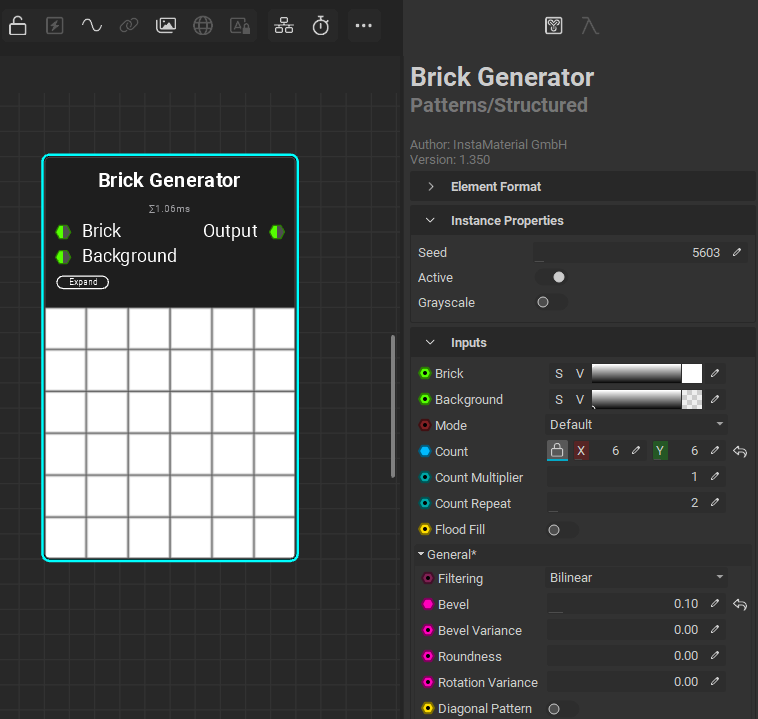
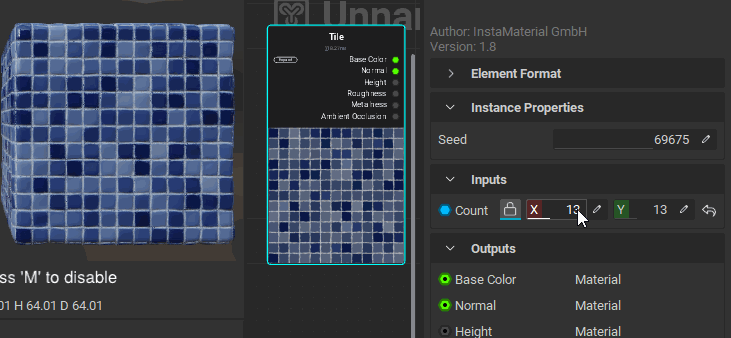
Editing node parameters
Once a node is selected, the parameters are displayed in the “Graph Object Editor” on the right side of the window, where you can edit them.
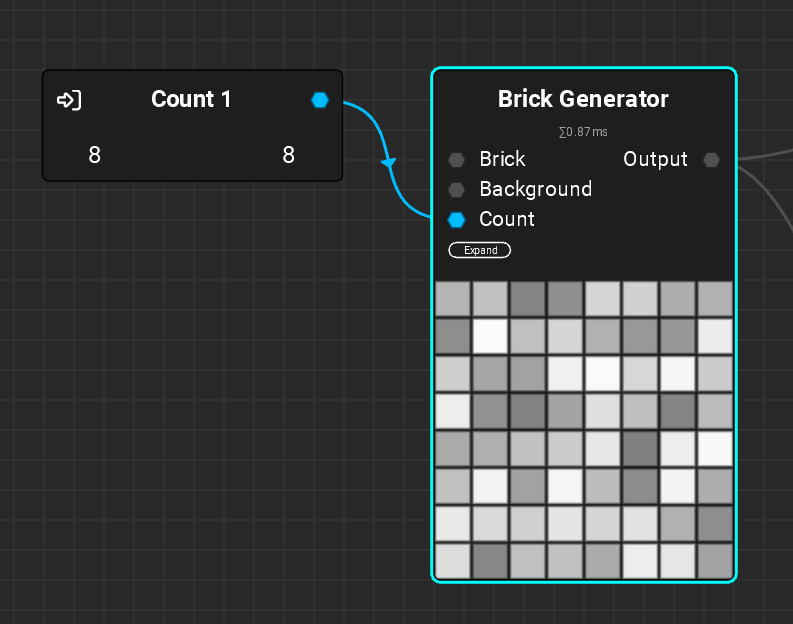
All that remains is to bring up and connect the nodes and edit the parameters.
The operation itself is very easy! It’s harder to remember the nodes…
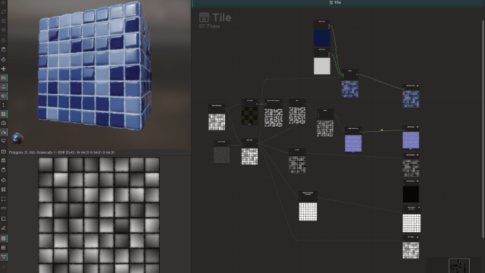
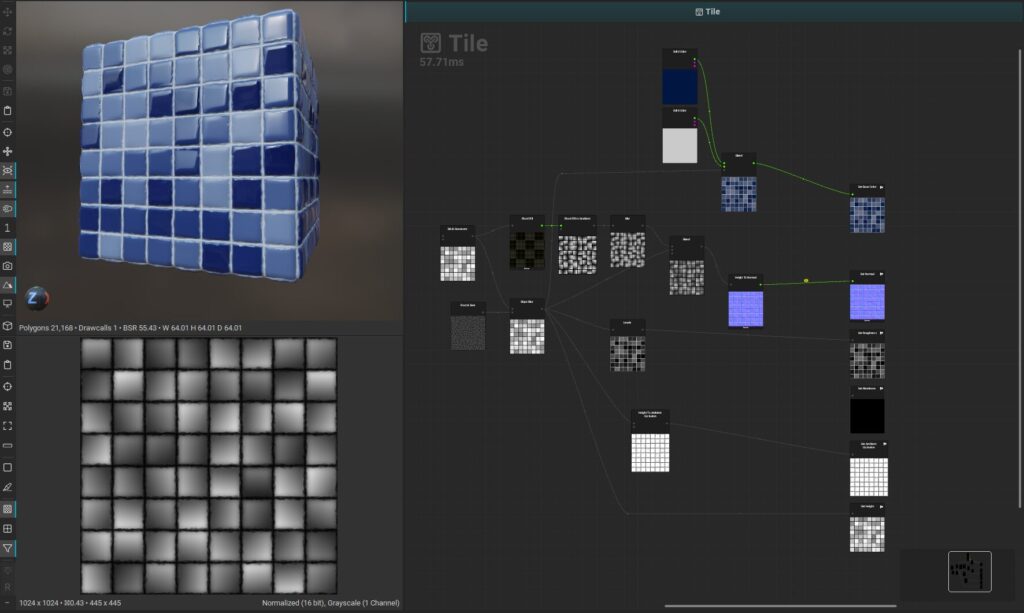
I made a simple tile material.
We have uploaded a Youtube video of the work, so please refer to it.
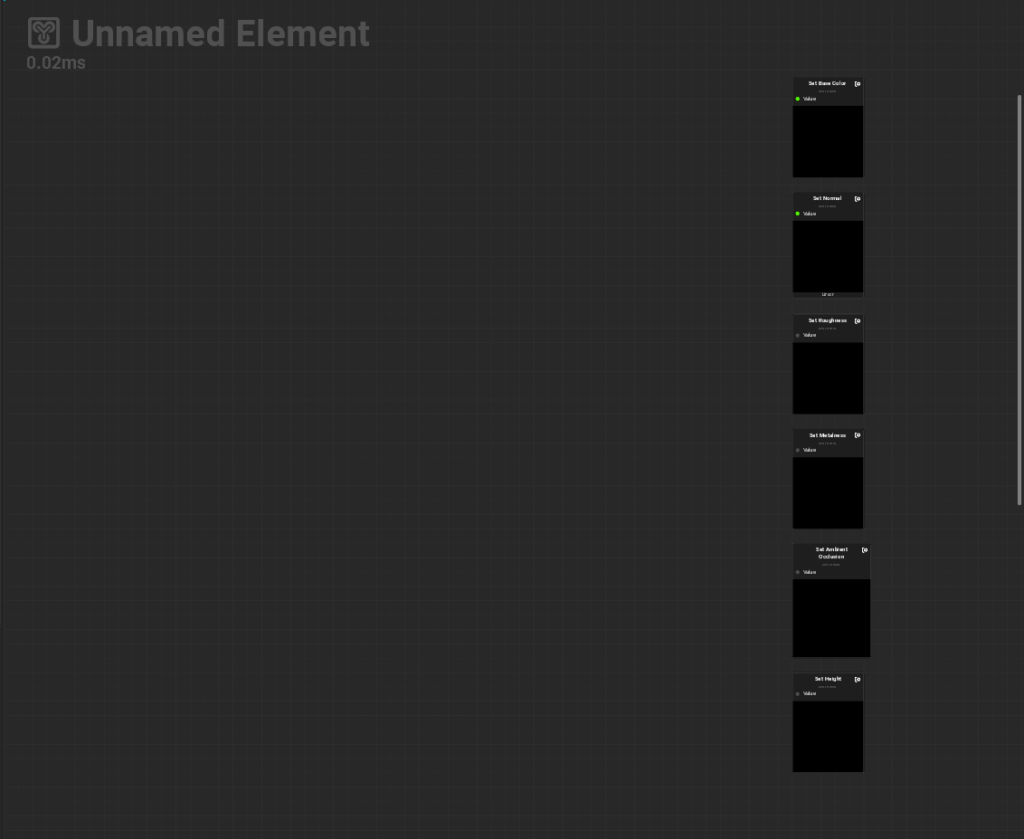
Output parameters externally
Right-click “Expose as Input Parameter” for parameters you want to make editable from the outside.
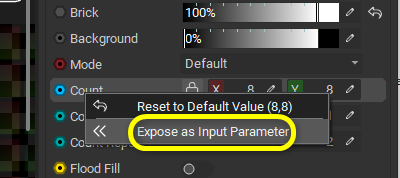
Then a parameter node is created.
If you put out a parameter, you can call this material graph node from another graph and edit it.
This is the same as the substance material.
They can be loaded into other DCC tools and game engines in the same way as substance materials.
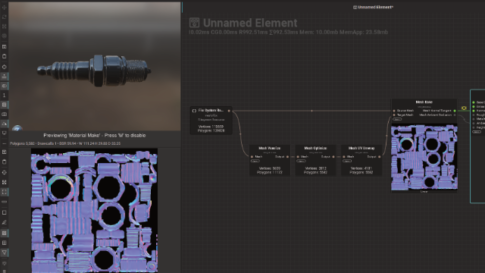
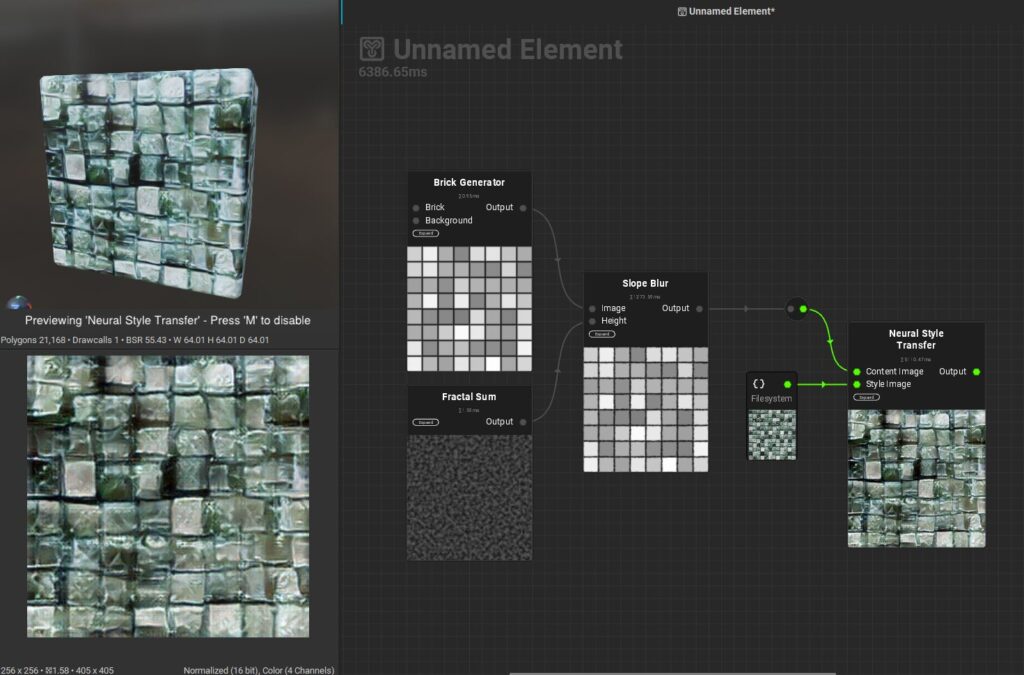
Neural Style Transfer
There also seems to be a node using machine learning, which uses the image entered in the Style Image as a reference and processes the image entered in the Content Image to make it closer to the reference.
This is great! It’s a feature that Substance doesn’t have, and it’s new and modern.
If you are interested, please touch it.