
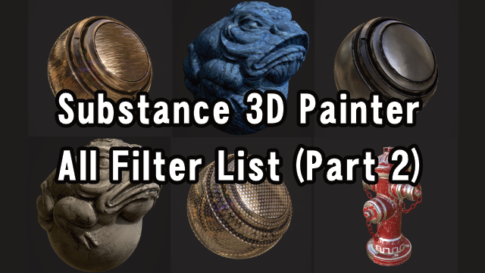
This article presents a list of all 21 filter effects available in Adobe Substance 3D Painter, which can be seen in the image.
In the last issue, you introduced the list of effects of generators.
Yes, that’s right. I’ll do the filter one this time.
I counted and there were 56.
That’s too many!
I’m not sure what to say.
What is a filter for that matter?
There are filters in 2D software, right? It’s the same.
Since there are too many in this issue, I will separate this article into Part 1, Part 2, and Part 3!
Adobe Substance 3D Painter 10.1.2
Contents
- 1. Baked Lighting Environment
- 2. Baked Lighting Stylized
- 3. Bevel
- 4. Blur
- 5. Blur Directional
- 6. Blur Slope
- 7. Clamp
- 8. Color Balance
- 9. Color Correct
- 10. Color Match
- 11. Contrast Luminosity
- 12. Drop Shadow
- 13. Fill Area Color
- 14. Fill Area Mask
- 15. FXAA (Anti-aliasing)
- 16. Glow
- 17. Gradient
- 18. Gradient Curve
- 19. Gradient Dynamic
- 20. Height Adjust
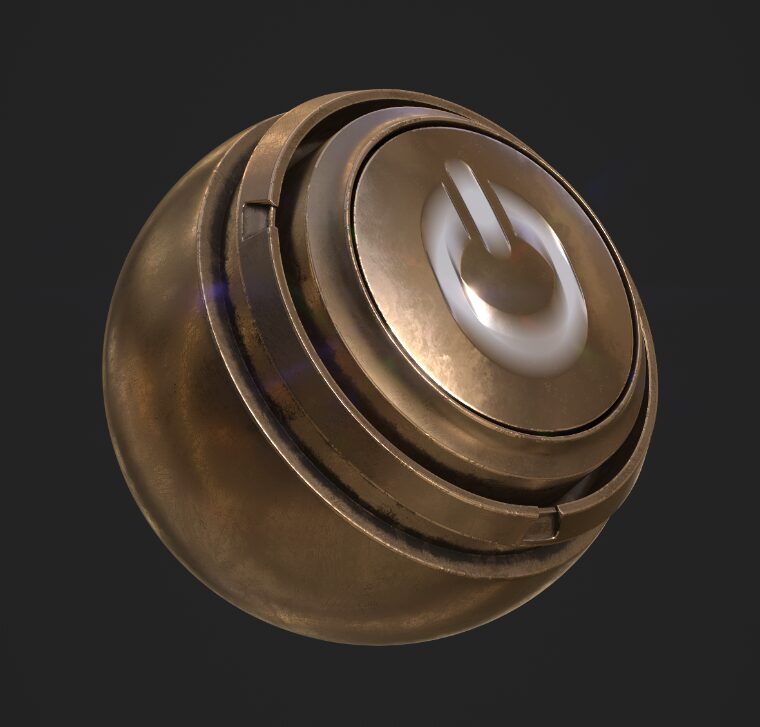
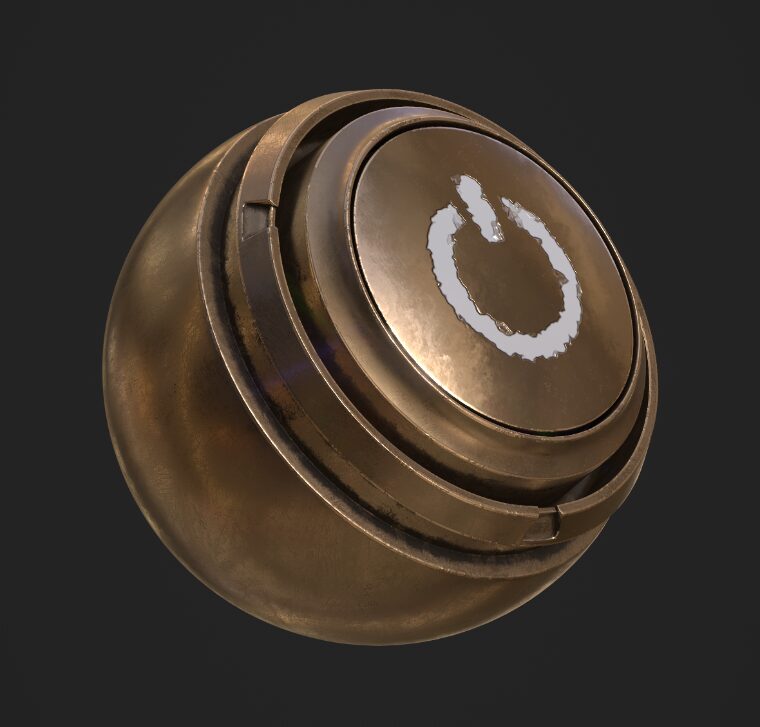
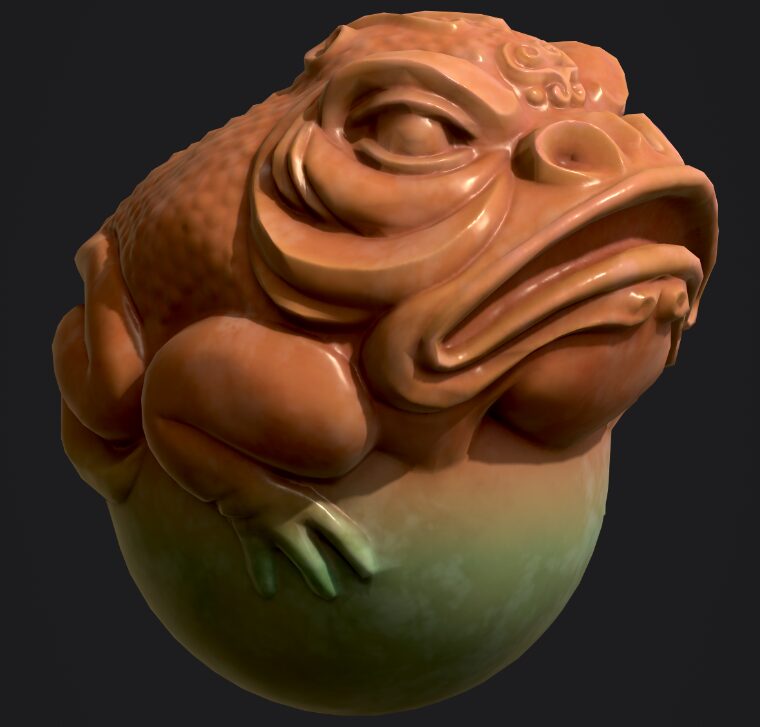
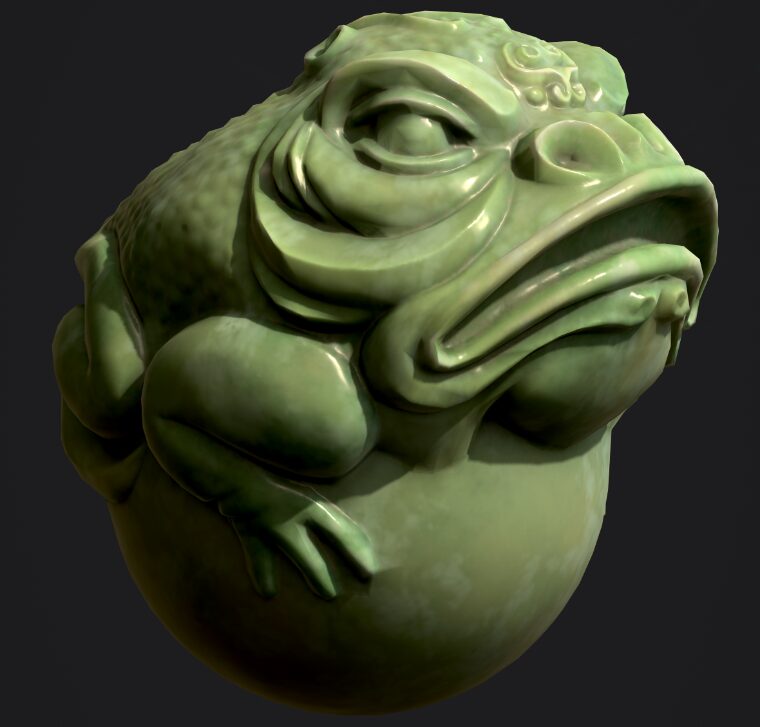
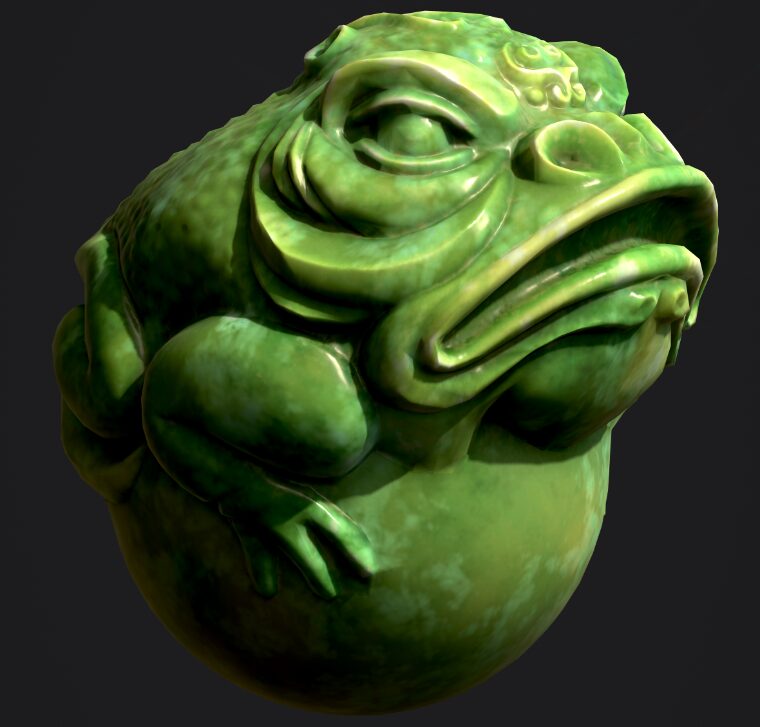
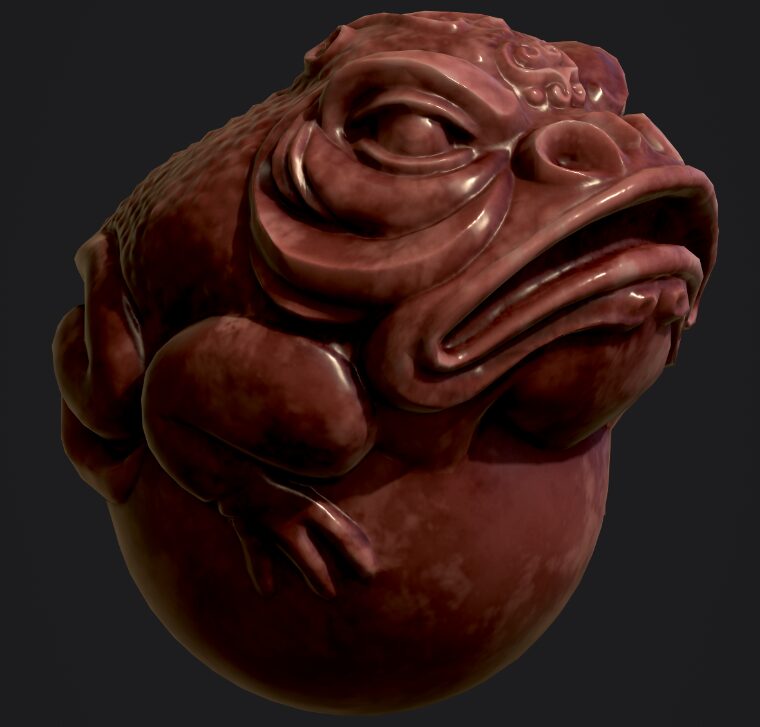
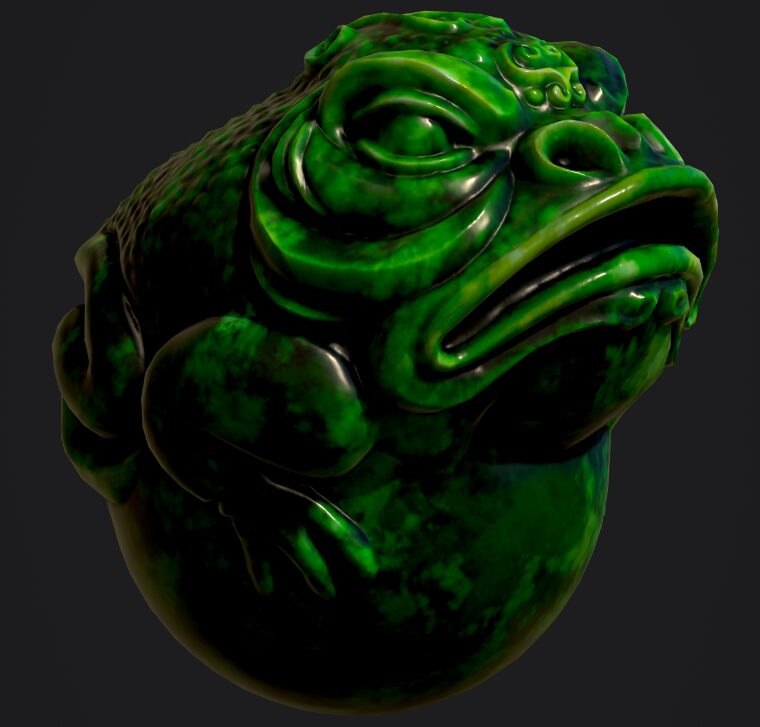
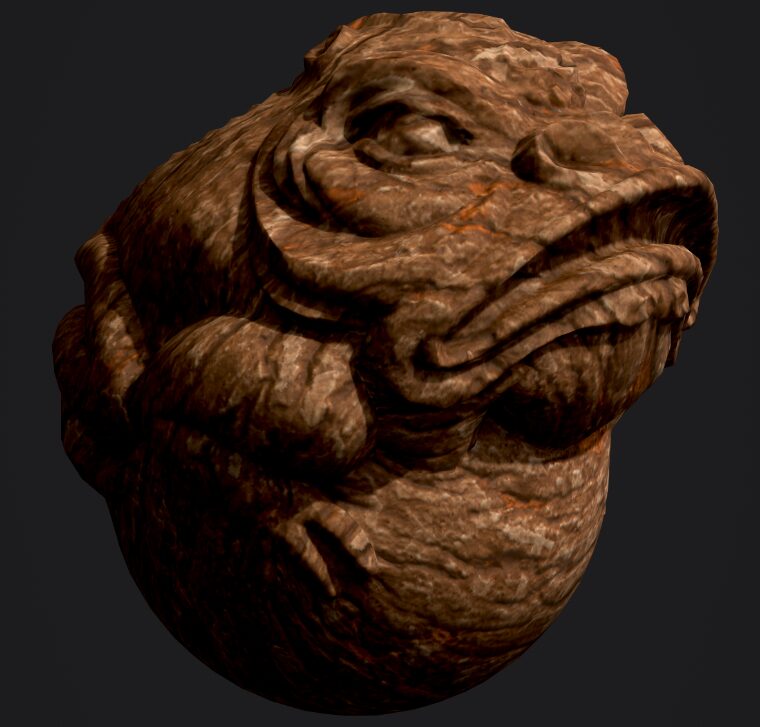
1. Baked Lighting Environment
Burns the lighting result from an environment map as the base color.
Shadows and speculars from normal maps can also be baked as base color textures, making it suitable for data that requires light rendering, such as mobile and distant view data.
*The examples below show only the base color.
Before

After

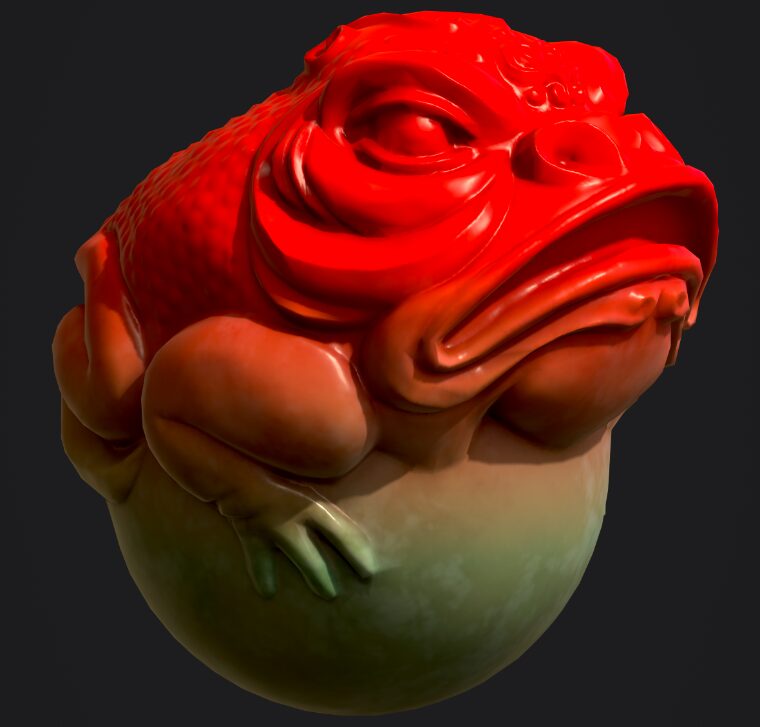
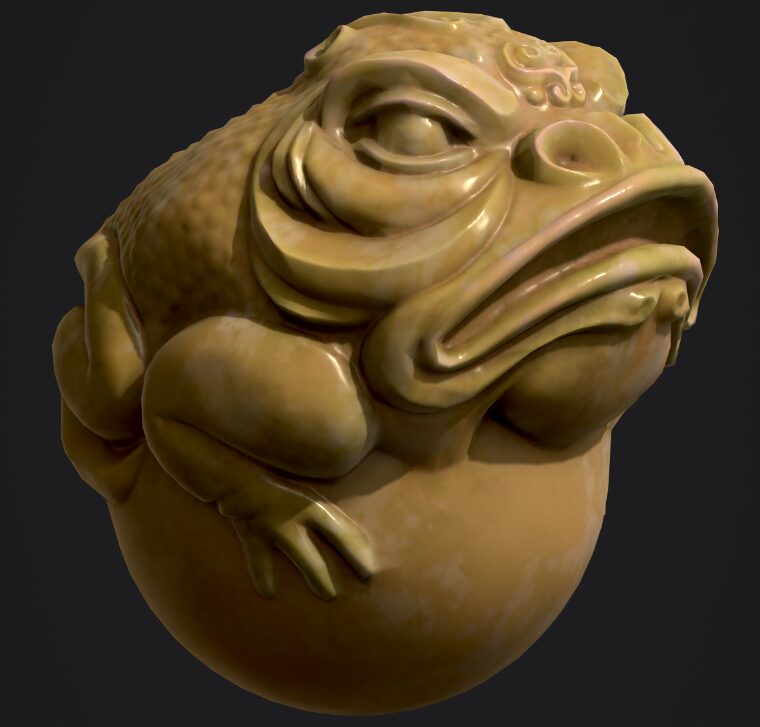
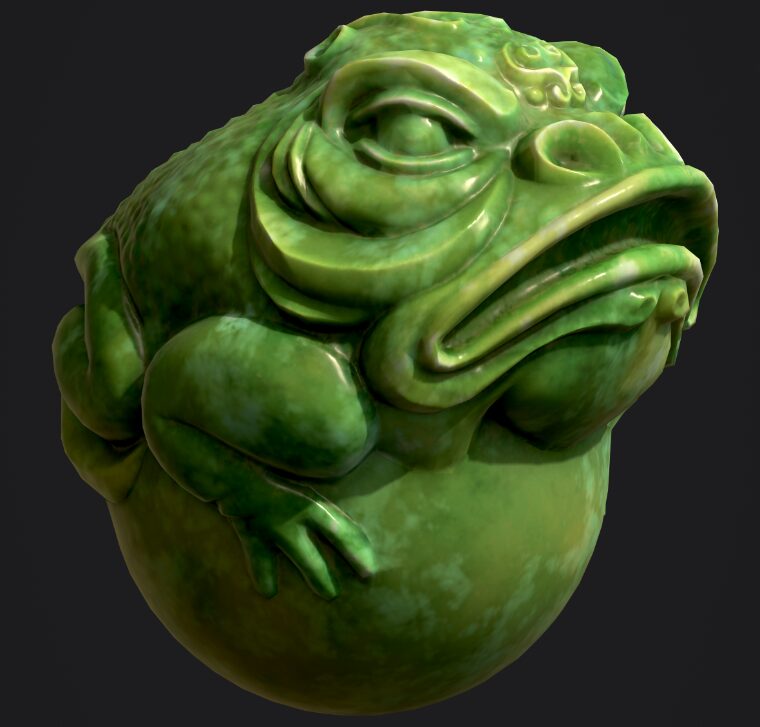
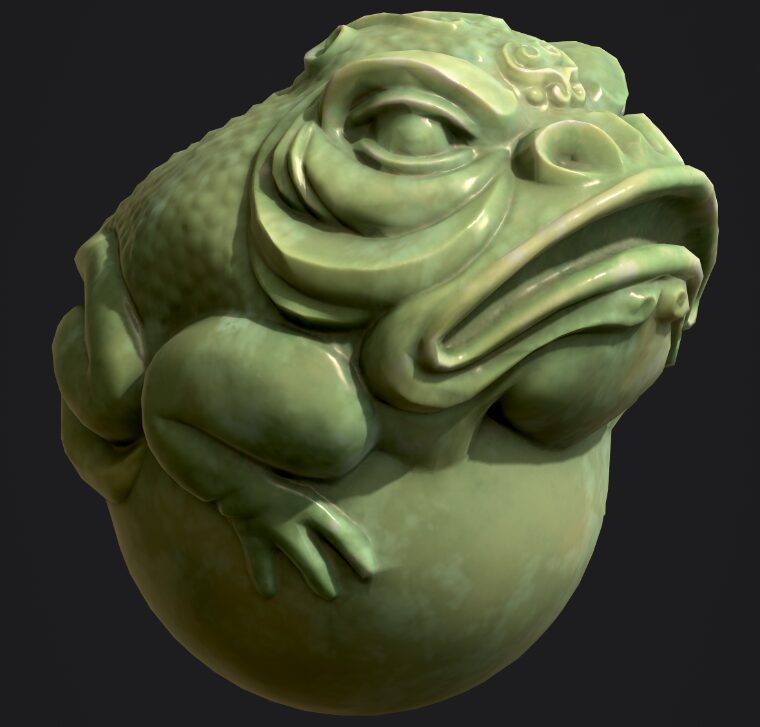
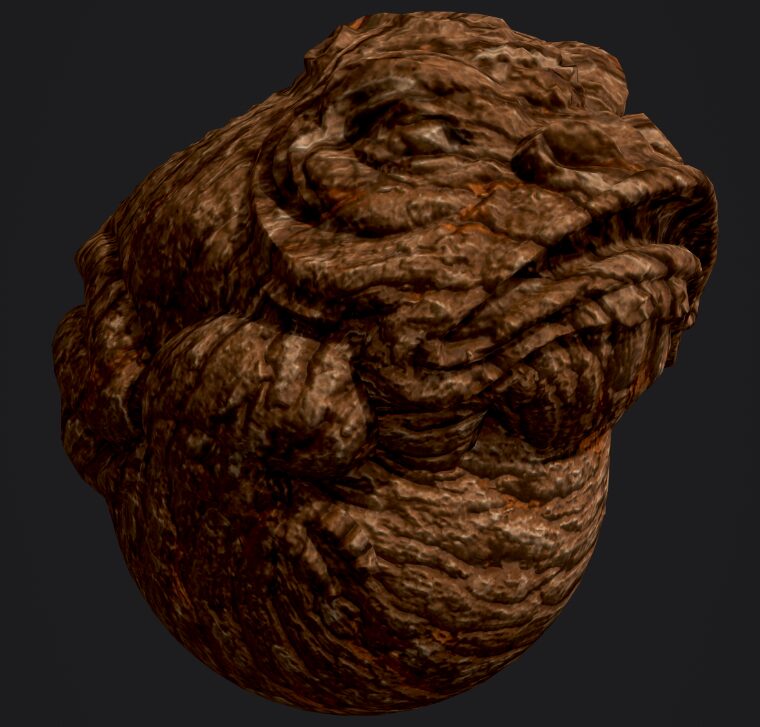
2. Baked Lighting Stylized
Burns the result of lighting using the light source set in the parameters as the base color.
The light source specified in the parameters and two additional light sources can be optionally set.
*The examples below show only the base color.
Before
After
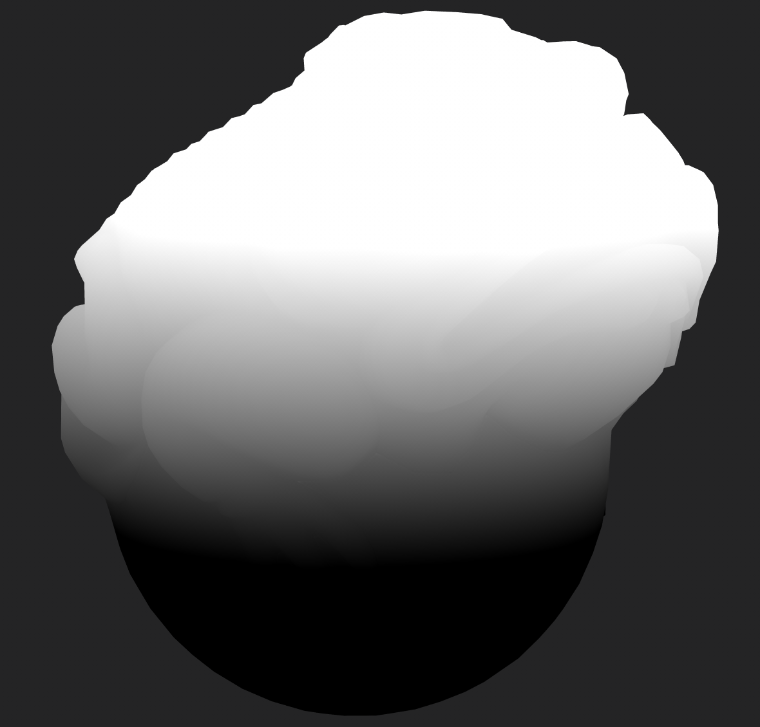
3. Bevel
It can be used to create a bevel effect on layers with transparent areas or on masks.
*In the example below, the filter is applied to the mask of a fill layer.
Before
After
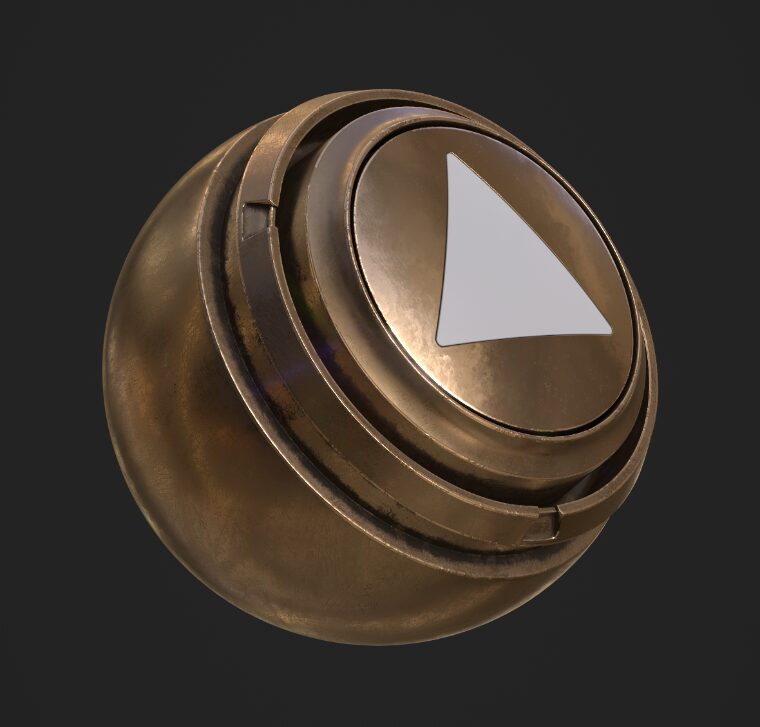
4. Blur
Blur filter.
*In the example below, the filter is applied to the mask of a fill layer.
Before
After
5. Blur Directional
Directional blur filter.
*In the example below, the filter is applied to the mask of a fill layer.
Before
After
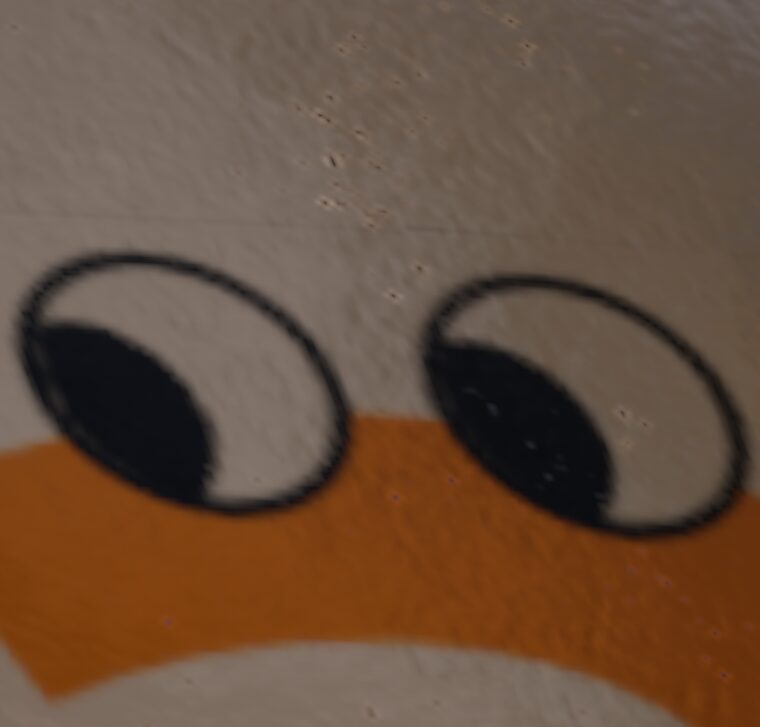
6. Blur Slope
This filter blurs grayscale images such as noise to a sloped direction (gradient direction).
By default, noise is specified, but by specifying Custom Noise as the Source Tyupe
By specifying Custom Noise as the Source Tyupe, you can apply the blur using any input image.
This filter is suitable for adding distortion, chips, etc., as in the example below.
Before
After
7. Clamp
This filter clamps pixel values at the specified minimum and maximum values.
*In the example below, the filter is applied to the mask of a fill layer.
Before
After

8. Color Balance
This filter adjusts the color balance in three stages: Shadows, Midtones, and Highlights.
Before
After
9. Color Correct
This filter adjusts contrast, brightness, and saturation in three stages: Shadows, Midtones, and Highlights.
Before
After
10. Color Match
This filter corrects the color specified by SourceColor to match the color specified by TargetColor.
Before
After

11. Contrast Luminosity
This filter adjusts contrast and brightness.
Before
After
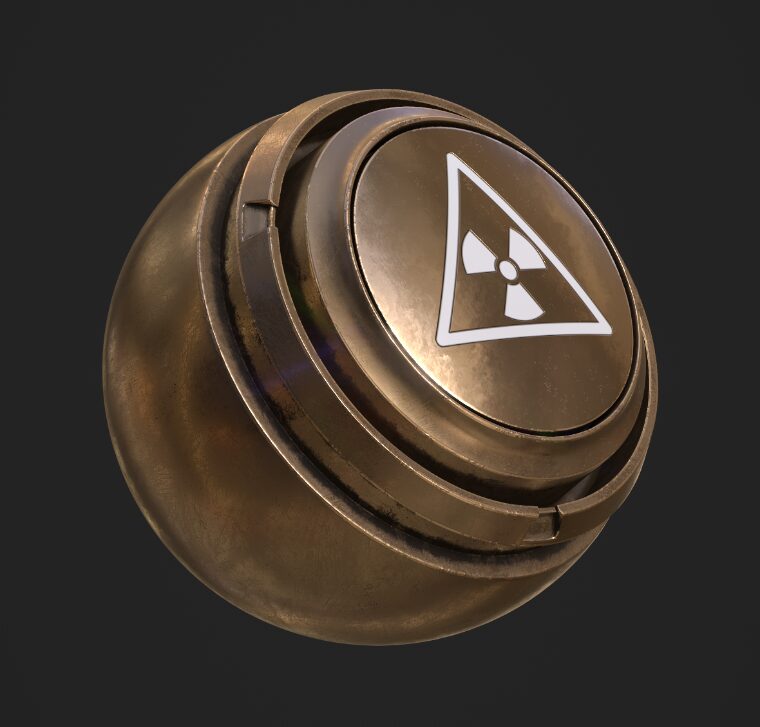
12. Drop Shadow
This filter applies a drop shadow effect to a layer with transparent areas.
Before
After
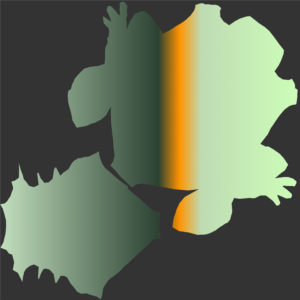
13. Fill Area Color
For layers with transparent areas, the area enclosed by pixels is automatically filled.
Before
After
It appears that the following, unclosed images cannot be filled.
14. Fill Area Mask
Automatically fills the area enclosed by pixels with respect to the mask.
Before
After
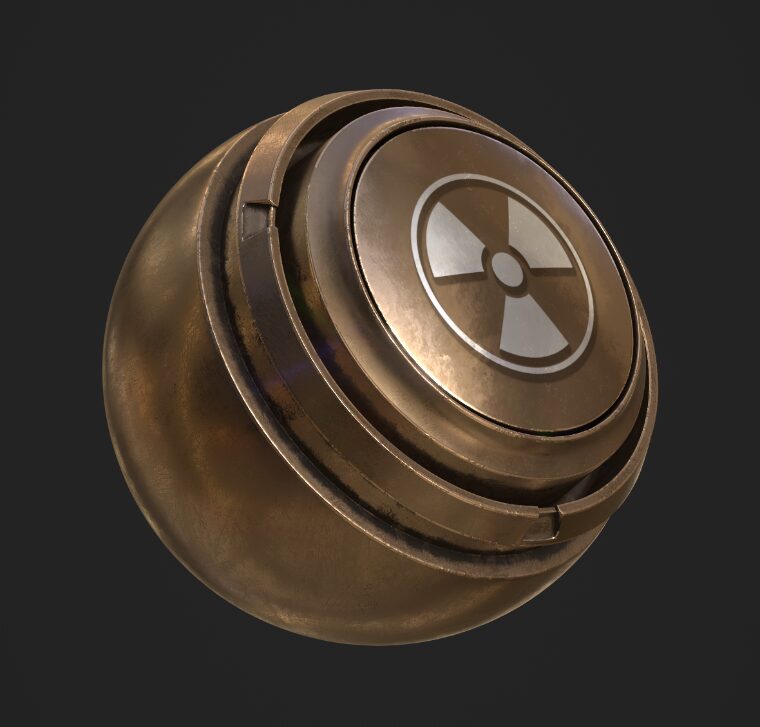
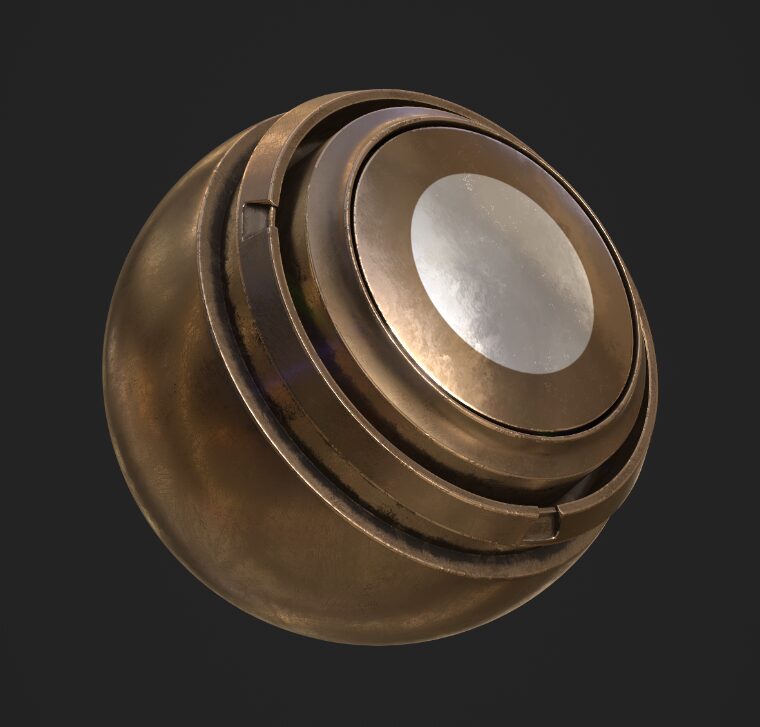
15. FXAA (Anti-aliasing)
This filter applies anti-aliasing.
Before

After
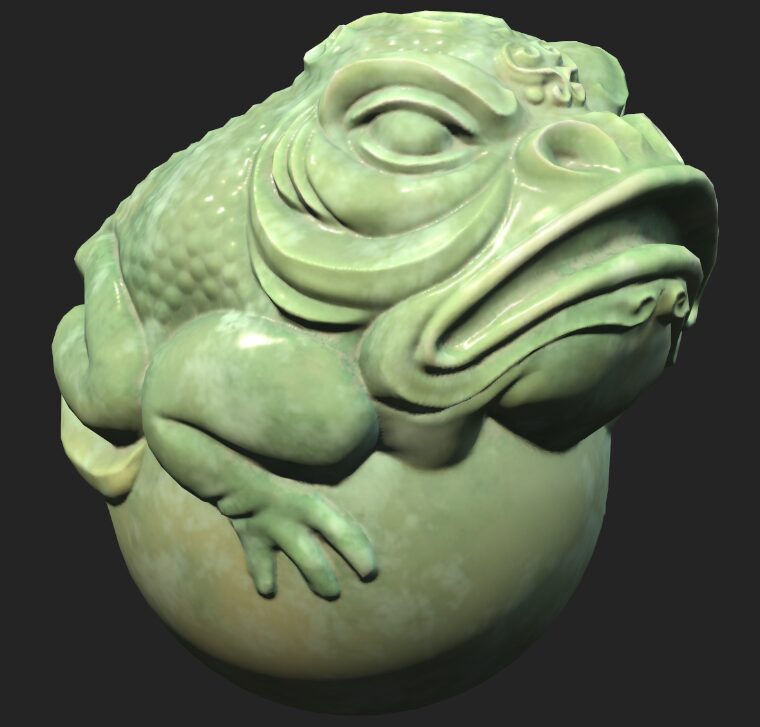
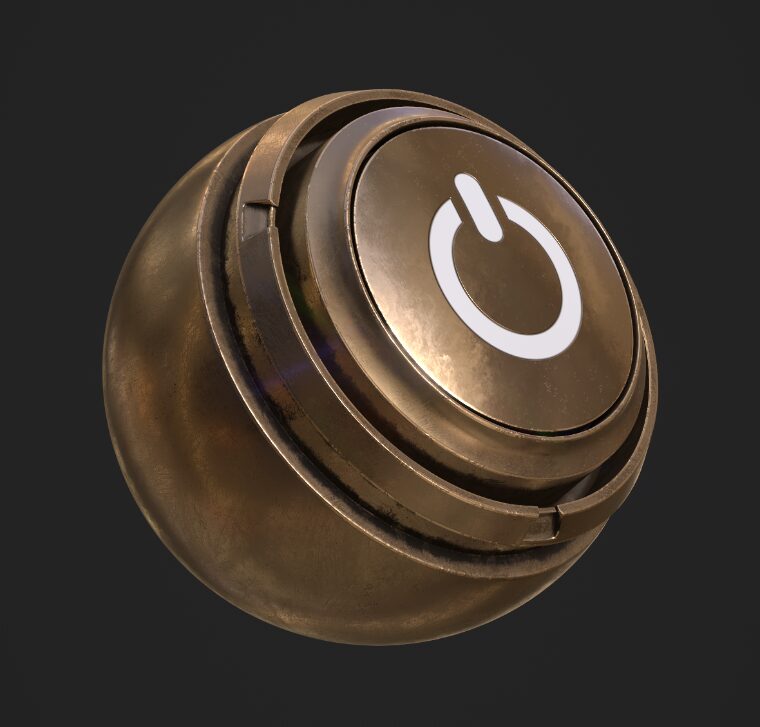
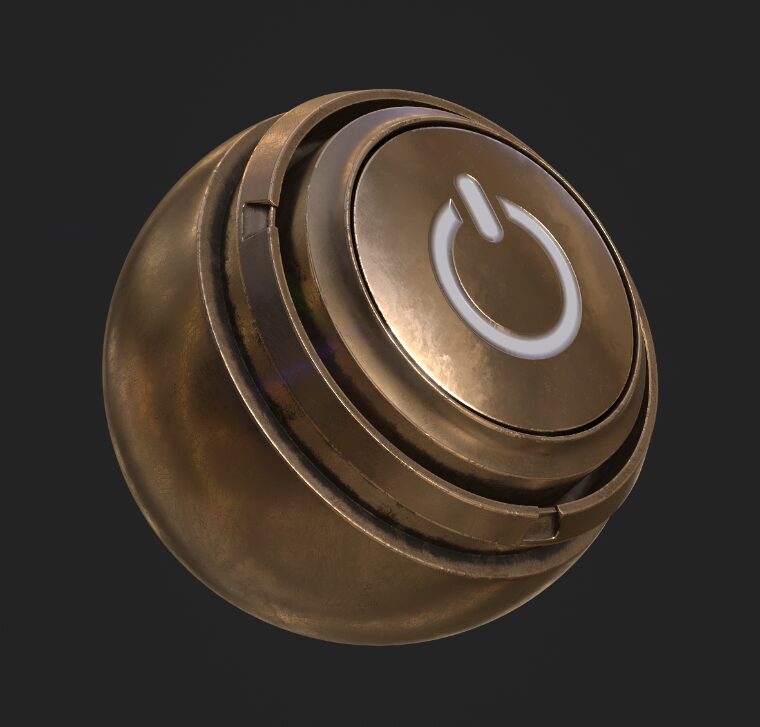
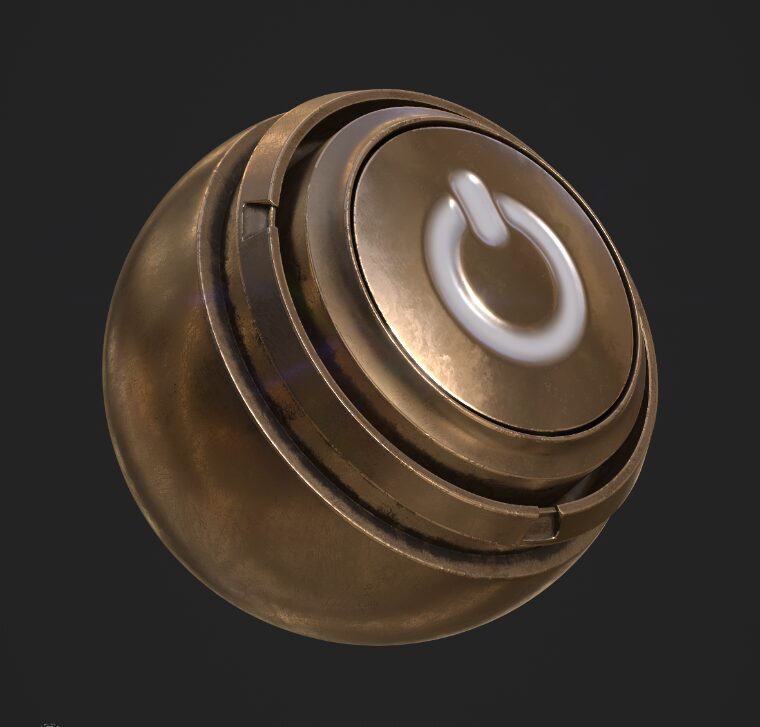
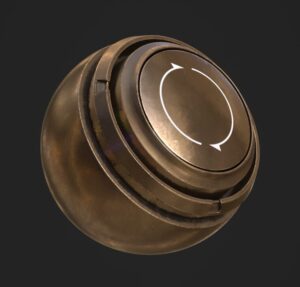
16. Glow
This filter applies a glow effect to a layer with transparent areas.
Before
After

17. Gradient
This filter replaces the gradient map with the corresponding color.
Before

After
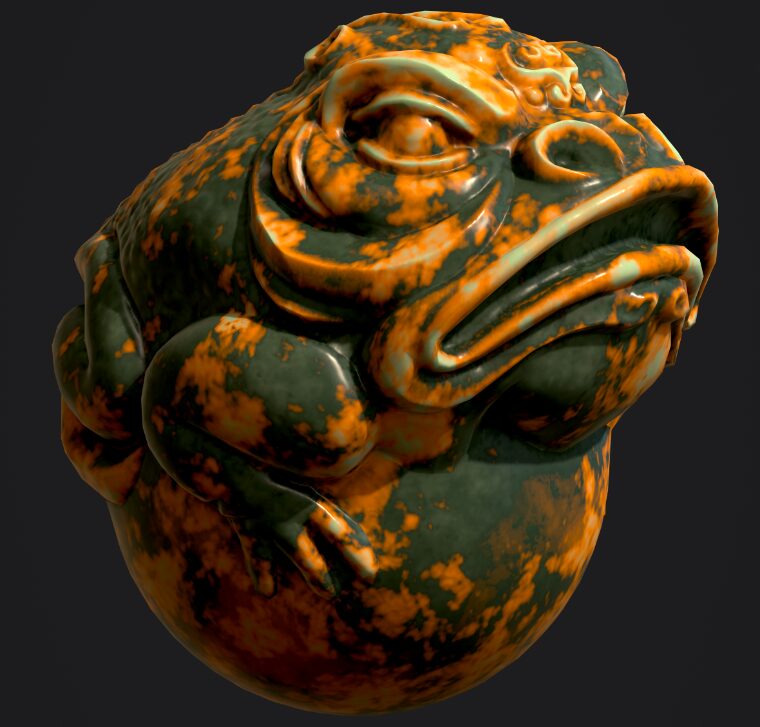

The number of keys to specify the color is set in Color Quantity, and the position and color are specified for each key.
Unlike Substance 3D Designer, the UI of the gradient map is not very intuitive, making it difficult to use. You can use Display Gradient (Debug) to see the gradient in a 2D View.
18. Gradient Curve
A filter that applies a gradient map using several presets.
Before
After
19. Gradient Dynamic
This filter uses the input image and replaces it with the corresponding color in the gradient map.
In the following example, noise is input.
Before
After

20. Height Adjust
This filter adjusts the height map value.
Before
After
Still about a third of the way through this, wow…
This time, there were many color correction related filters.
I recommend the Blur Slope filter, and I often use Bevel.
Please do Part 2 and 3 as soon as possible.
Well, wait…review the list of generators and wait.


The filter effect is a substance that transforms the contents of a layer or mask.
https://helpx.adobe.com/substance-3d-painter/features/effects/filter.html